
Monthly Archives: January 2016
Book Review: The Anarchist’s Design Book
The Anarchist’s Design Book by Chris Schwarz.
Short Summary: Interesting book with good ideas that makes me want to build furniture.
I recently finished the latest subversive rant “The Anarchist’s Design Book” from the chief anarchist of woodworking, Chris Schwarz.  I’ve been a fan of his work before, and have had the opportunity to take a week long class from him making the infamous tool chest.  So, I’m obviously somewhat in the Schwarz camp already, so this review should be taken in that light.  Also, I should note this review is of the Electronic version.  I wish more publishers gave me the electronic version with the printed version, then I could have it both ways with a easily portable library at my finger tips, and a book case full of wonderfully tactile tomes.
Anyway, on to the review.  The book is written even more so in his laid back and somewhat sardonic style than previous books.  This is not a dry textbook style book, but rather one full of personality and life.  This may not appeal to people for sure, especially those who are already not fans of the Schwarz.  I personally like this style, because it’s more interesting to read and you can get a real sense of the person.
The book is divided into two main sections, each tackling what the author considers somewhat lost arts (see what I did there?) of “staked furniture” and “boarded construction” techniques. Â The text is a mix of projects, instructions, and opinion blended together. Â You have to read the whole thing to get the sense of it. You can’t really just skip to the projects, and jump in. Â The projects them selves are interesting, and I found myself considering taking on at least half of them. Which is pretty good for me as I tend to only be interested in one or two projects. Â The staked chair section is of particular interest, as I’ve been turned off by many of the designs, and styles out there. Â Building a Windsor chair seems terribly daunting, and overly complicated for someone who doesn’t get a lot a shop time. Â The four legged chair is likely on my list to build.
He does go on at length about the 3 legged chair, but it’s not something that appeals to me. Â This is one of the places where it felt a little forced to me, where he had an idea that he was intellectually in love with and tried to force the idea a bit. Â This is the anarchist in him showing a bit, challenging the status quo for which I applaud him. Â Ultimately it’s interesting as a thought exercise, but visually I just don’t love the look.
In the next section he tackles boarded construction, which is something I’m a bit more familiar with personally, but still contained quite a bit of great information in it. Â I’m going to give the bookshelf construction a go, following his steps verbatim for one, and then try applying them to larger projects. Â We have a lot of books, and a lot of sagging IKEA shelves. Â I would love to replace the tall ones with hand made ones, so that’s going on the project list after I try the shorter version.
For me this book will occupy a place on my woodworking bookshelf, or rather will likely have a spot reserved for it, but will probably be down on my work bench for a while, while I experiment with staked tenons, and octagonal legs.
Badger
The future and the past.
I find myself conflicted at times. Â I love history, and old things. Â I met my wife at a history re-enactor event, we collect old things, we study history and create things using old methods or designs (she loves all things fabric). Â However, I also look to the future, I love robots and technology, I have a 3D printer (two actually) and love science and science fiction.
What does this have to do with woodworking?
I have found an intersection between those halves of me. Â Or rather I have CREATED one. Â I’ve been exploring 3D printing applications for historical woodworking.
Three things so far that I’ve made, and share for everyone to try out (if you have a 3D printer).

3D Printed Dovetail marking Templates

3D Printed Bench Dog

3D printed Marking Gauge
I’m kicking around a few other ideas as well, I think it would be possible to create things like planes and the like, but I am conflicted because they would be plastic which is just not as nice as wood. Â However, you could create custom profiles if you got the base design figured out. Â I’ve seen other creators doing other things, templates and the like. Â Pocket hole jigs (if you’re into that sort of thing) have been made. Â Dust collector adaptors, center finders, and even a sliding bevel.
I think that this could be a bridge between the old and the new, and help aspiring woodworkers dip their toes in for lower cost. Â Sure it’s plastic, and will probably not last as long but it’s a way to get in and get started, easing a ramp into a wonderful and fulfilling hobby.
Badger
A study in interlacing.
A combination of work and family life has made visits to the shop a rare thing for a while. Â A combination of exhaustion and boredom made posts to the blog even rarer. Â Such is life.
Got a little carving done the last couple of weekends, working on some new stuff to mix it up a bit.  I call the post a “Study in Interlacing” because each of the three panels I am working on is some kind of over-under type pattern.
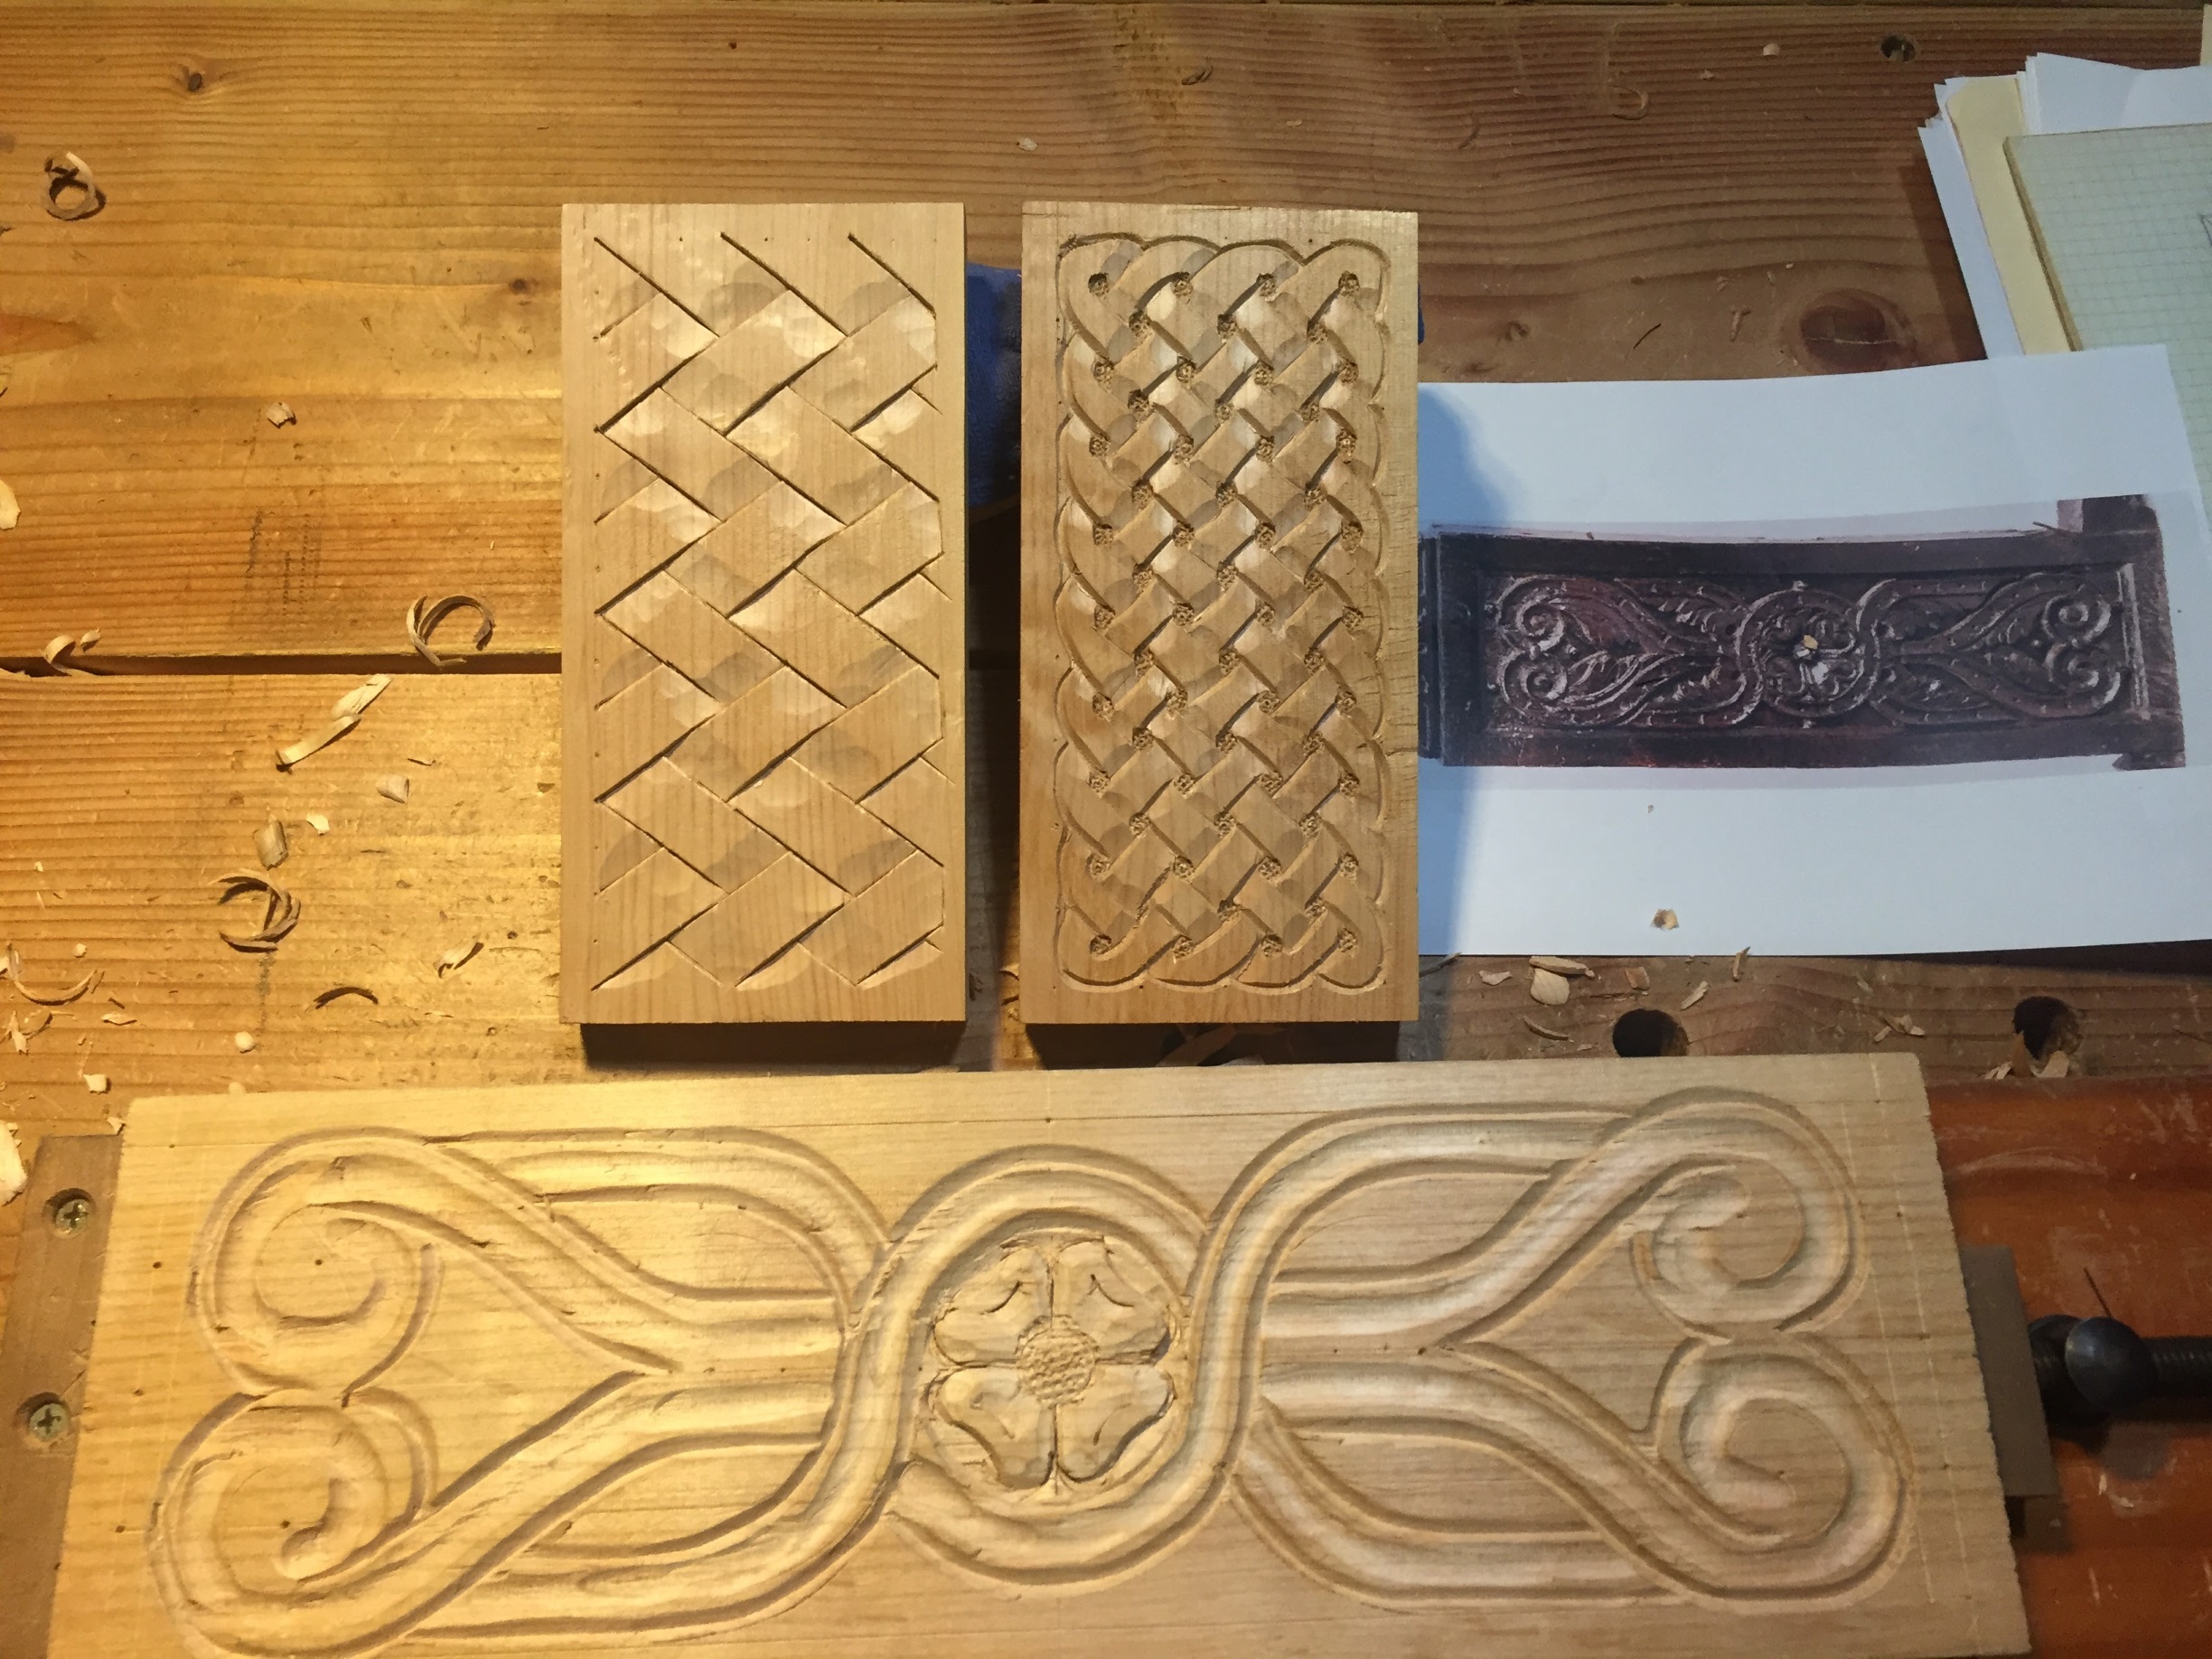
On a lark I tried your standard “celtic knotwork” pattern, the kind you bang out on graph paper for fun.  It’s a lot of repetition of cuts, and it’s easy to miss one line if you are not methodical about it.  Layout took the most time, and once that was done, I was able to carve it pretty quickly.  The majority of the work is V-tool work, with a small shallow gouge to take care of under cutting. I used one of my background texture punches to finish it out on the “dots”.

Knotwork and Basket Weave carving
After that I looked a different type of “weave” that I have seen  before in a book on Japanese carving.  It looks like a basket weave, and nearly wrecked by brain trying to lay it out.  The secret is that its NOT a square grid layout.  It’s a two x three layout, almost like a herringbone pattern. Once I got that, I was able to lay in the lines, and get to work.  This one is a lot of flat wide chisel work, and a larger shallow chisel to handle the over under work.  I think it looks great in a raking light.
Sides and front of the “Study in Interlace” Box.
Continuing the theme, I drew inspiration from a “pew end” carving that I spotted at Marhamchurch Antiques, a massively great site for medieval carving enthusiasts.  One of the set of four Pew Ends recently sold there had this great over under theme that I wanted to try.  Layout was fairly straight forward if you’ve done a bunch of S-Scroll carving, so I started with the center circle using a pair of dividers and just eyeballing the width of the ring. I used the same line width all throughout to maintain a consistent look.  The two ends are laid out like half of an S-Scroll pattern with the two circles, and then I just connected all the lines and figured out over-under pattern.
Started with a V-Tool I outlined the whole thing, and started in with medium deep gouge to dish out the center of all the lines. Â This is where is started to go astray unfortunately. Â This is Alder, which fairly soft, and the tight corners chipped out like crazy. Â I did the best I could to clean it up with slightly shallower gouge, but I wasn’t able to totally clean it up. Â I’m not super pleased, but I’m going to finish it up anyway to get the practice.
The top will likely be Pine or Poplar depending on what I have in the shop. Â If I have a big wide poplar piece, I might carve that as well, we shall see.
Badger
You must be logged in to post a comment.