Travelling Hexagon toolbox – Part 5
See Previous installments on this project here:
Part  1 - Part 2 - Part 3 – Part 4
It was buckle down and get this done time in the Badger Woodworks shop, so I didn’t take a lot of pictures of the final stages. Â If there had been it probably would have been me looking confused and sweating a lot. Â I did all right in my high school geometry classes, that’s not the issue here, it’s more of how long ago those classes were. Â I had to puzzle my way through some basic “math” on the final stages of the box was mostly victorious. Â It didn’t help that I was rushing to finish, and it was pretty dang hot outside making the “workshop” aka small section of a crowded garage pretty stuffy.
Regardless of those massive challenges (first world problems for sure) I was able to persevere and triumph. Â For varying definitions of the word “triumph”.
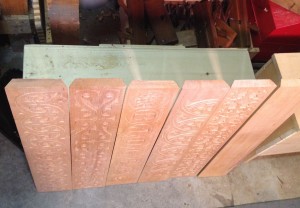
After lots of working planing, and copious use of a drawknife at the end, I was able to get the angle set on all the boards. Â At this point I discovered a potential issue. Â The thickness of the boards were not even. Â This meant the inside width post chamfer was not consistent and would cause issues with the hexagon shape. Â I briefly flirted with the idea of planing the four thickest boards down, but I was running short of time (and daylight) so I opted to use my moving filister plane to just do the ends. Â I struggled a bit with getting it even and consistent (see a later blog post on how Chris Schwarz helped me fix this) but eventually got it roughed in enough to move on to the hexagon.
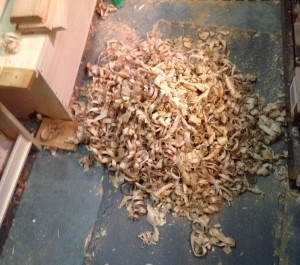
At this point I was I tired of stepping on shavings, and swept up a bit. I was tempted to call the kiddo down to get pictures of him jumping in the shavings like a pile of leaves (it was that big) but I didn’t want to lose him.
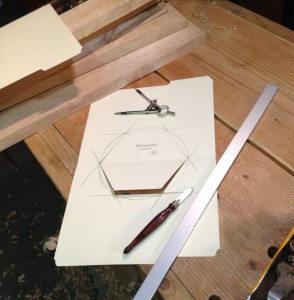
To make the end pieces I measured all the inside widths of my boards to find the minimum width. Â They were close, but I knew I would have to get them even, fitting this to the smallest one. Â Then I took this length, set my compass to this and drew a circle on a manila file folder which I have a big old stack of from a previous job. (They are really handy for making templates and stuff in the shop.)
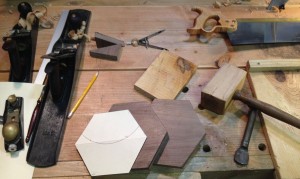
Now that I have this, and double checked it against the work as best I could, I looked around the shop for some wood that I could use. I had a small piece of walnut board left over from a previous project, and decided to use it. Â I had planned on using my pine boards, but it felt like a crime to cut into these 12″ boards for a small project. Â The walnut was really close to the width, which meant less sawing too, so there you go… lazy wins again!
I cut the hexagon on my bench with a crosscut saw plenty wide of the line, and planed it flat taking real care to watch the grain direction on the four sides that were angled across the grain. Â I left the whole hex a bit proud of the line so I could fit it later.
At this point I started laying the ends to the work on panel at a time. It was getting late, so I didn’t take any pictures past this point because I was in a hurry. Â I started by laying it to the bottom board (the one with out carving, and fit the width of the face to the inside edge. Â This I nailed down with cut nails after holding it up with wooden clamps. Â From here I worked my way around the back edge, fitting each board to the edge of the corresponding hexagon edge and adjusting the long edge to fit each time. Â With varying degrees of success. Since it was late, and I was rushing I opted to skip glue and just use nails so I could revisit this later if I needed to. Â After I nailed the two bottom carved panels forming the bottom of the box, I moved onto the top.
In the Toolbox Book by Jim Tolpin, he used a leather strap around the outside. Â I didn’t want to cover my carving, so I opted for small brass hinges to connect the three top panels. Â It was a little tricky working with the angled faces but in the end it was simple matter of installing the hinges. Â The hardest part was fitting the three hinged panels to the bottom boards because it was tough to hold them up with everything falling over.
Then it was slap a coat of amber shellac, and go to bed for a really early wake up to get on the road to the Toolchest Class in Port Townsend.
I’ll post final pics in my next post.


Comments are Disabled